本文由 Seren Spark 从个人 CSDN 博客迁移,保留原始发布日期;正文内容会优先从公开页面同步。
textarea
-webkit-scrollbar:width:0;让滚动条隐藏,宽度为0
resize:none 禁止textarea可以手动拉伸,
overflow-y:visible 长度伸展可视
.reply-text {
overflow-y: visible;
&::-webkit-scrollbar {
width: 0;
}
resize: none;
outline: none;
font-size: 20px;
border-radius: 5px;
border: 1.2px solid #f26026;
width: 100%;
min-height: 80px;
margin-bottom: 10px;
}
通过监听input,实时判断是否有内容输入,若无内容输入,则按钮禁点
this.style.height = “inherit”;
this.style.height = ${this.scrollHeight}px让文本框长度随输入内容的长度改变而改变
textarea.addEventListener("input", function (e) {
if (textarea.value == "") {
replyBtn.setAttribute("disabled", true);
replyBtn.classList.add("disable");
} else {
replyBtn.removeAttribute("disabled");
replyBtn.classList.remove("disable");
}
this.style.height = "inherit";
this.style.height = `${this.scrollHeight}px`;
});
限制输入字数
textarea.onkeyup = function () {
  let ddl = document.querySelector(".ddl");
  let str = textarea.value;

  ddl.innerHTML = `还可输入${100 - textarea.value.length}字`;
  if (textarea.value.length >= 100) {
    ddl.innerHTML = "还可输入0字";
    textarea.value = textarea.value.substr(0, 100);
  }
};
thymeleaf
1.基础使用
- th:text :设置当前元素的文本内容,相同功能的还有th:utext,两者的区别在于前者不会转义html标签,后者会。优先级不高:order=7
- th:value:设置当前元素的value值,类 似修改指定属性的还有th:src,th:href。优先级不高:order=6
- th:each:遍历循环元素,和th:text或th:value一起使用。注意该属性修饰的标签位置,详细往后看。优先级很高:order=2
- th:if:条件判断,类似的还有th:unless,th:switch,th:case。优先级较高:order=3
- th:insert:代码块引入,类似的还有th:replace,th:include,三者的区别较大,若使用不恰当会破坏html结构,常用于公共代码块提取的场景。优先级最高:order=1
- th:fragment:定义代码块,方便被th:insert引用。优先级最低:order=8
- th:object:声明变量,一般和*一起配合使用,达到偷懒的效果。优先级一般:order=4
- th:attr:修改任意属性,实际开发中用的较少,因为有丰富的其他th属性帮忙,类似的还有th:attrappend,th:attrprepend。优先级一般:order=5
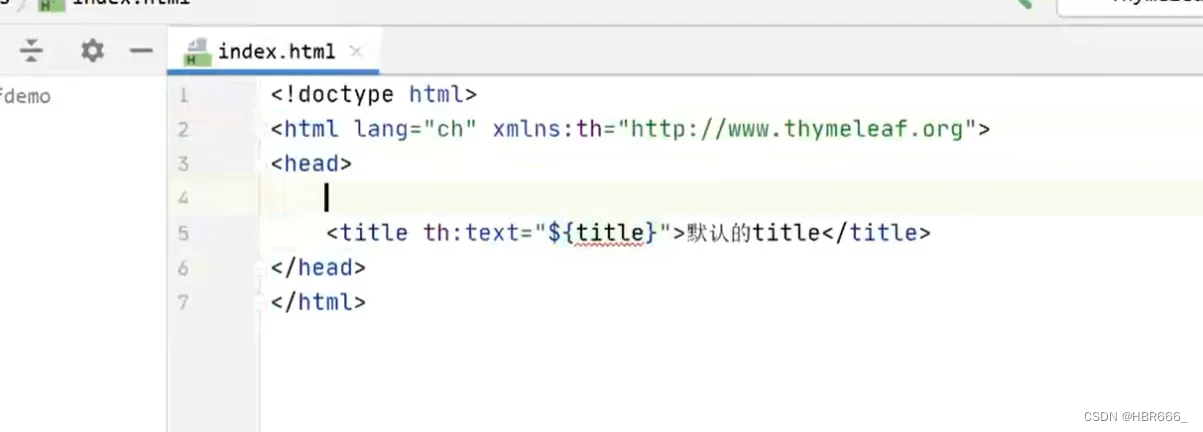
用 | | 进行字符串的拼接 类似于es6 中的反引号
<!DOCTYPE html>
<!--名称空间-->
<html lang="en" xmlns:th="http://www.thymeleaf.org">
<head>
<meta charset="UTF-8">
<title>Thymeleaf 语法</title>
</head>
<body>
<h2>ITDragon Thymeleaf 语法</h2>
<!--th:text 设置当前元素的文本内容,常用,优先级不高-->

<p th:text="${thText}" />
<p th:utext="${thUText}" />

<!--th:value 设置当前元素的value值,常用,优先级仅比th:text高-->
<input type="text" th:value="${thValue}" />

<!--th:each 遍历列表,常用,优先级很高,仅此于代码块的插入-->
<!--th:each 修饰在div上,则div层重复出现,若只想p标签遍历,则修饰在p标签上-->
<div th:each="message : ${thEach}"> <!-- 遍历整个div-p,不推荐-->
<p th:text="${message}" />
</div>
<div> <!--只遍历p,推荐使用-->
<p th:text="${message}" th:each="message : ${thEach}" />
</div>

<!--th:if 条件判断,类似的有th:switch,th:case,优先级仅次于th:each, 其中#strings是变量表达式的内置方法-->
<p th:text="${thIf}" th:if="${not #strings.isEmpty(thIf)}"></p>

<!--th:insert 把代码块插入当前div中,优先级最高,类似的有th:replace,th:include,~{} :代码块表达式 -->
<div th:insert="~{grammar/common::thCommon}"></div>

<!--th:object 声明变量,和*{} 一起使用-->
<div th:object="${thObject}">
<p>ID: <span th:text="*{id}" /></p><!--th:text="${thObject.id}"-->
<p>TH: <span th:text="*{thName}" /></p><!--${thObject.thName}-->
<p>DE: <span th:text="*{desc}" /></p><!--${thObject.desc}-->
</div>

</body>
</html>
2.代码块的切换
<!--th:fragment定义代码块标识-->
<footer th:fragment="copy">
© 2011 The Good Thymes Virtual Grocery
</footer>
<!--三种不同的引入方式-->
<div th:insert="footer :: copy"></div>
<div th:replace="footer :: copy"></div>
<div th:include="footer :: copy"></div>
<!--th:insert是在div中插入代码块,即多了一层div-->
<div>
<footer>
© 2011 The Good Thymes Virtual Grocery
</footer>
</div>
<!--th:replace是将代码块代替当前div,其html结构和之前一致-->
<footer>
© 2011 The Good Thymes Virtual Grocery
</footer>
<!--th:include是将代码块footer的内容插入到div中,即少了一层footer-->
<div>
© 2011 The Good Thymes Virtual Grocery
</div>
3.链接表达式
无参:@{/xxx}
有参:@{/xxx(k1=v1,k2=v2)} 对应url结构:xxx?k1=v1&k2=v2
引入本地资源:@{/项目本地的资源路径}
引入外部资源:@{/webjars/资源在jar包中的路径}
<link th:href="@{/webjars/bootstrap/4.0.0/css/bootstrap.css}" rel="stylesheet">
<link th:href="@{/main/css/itdragon.css}" rel="stylesheet">
<form class="form-login" th:action="@{/user/login}" th:method="post" >
<a class="btn btn-sm" th:href="@{/login.html(l='zh_CN')}">中文</a>
<a class="btn btn-sm" th:href="@{/login.html(l='en_US')}">English</a>
1)范例
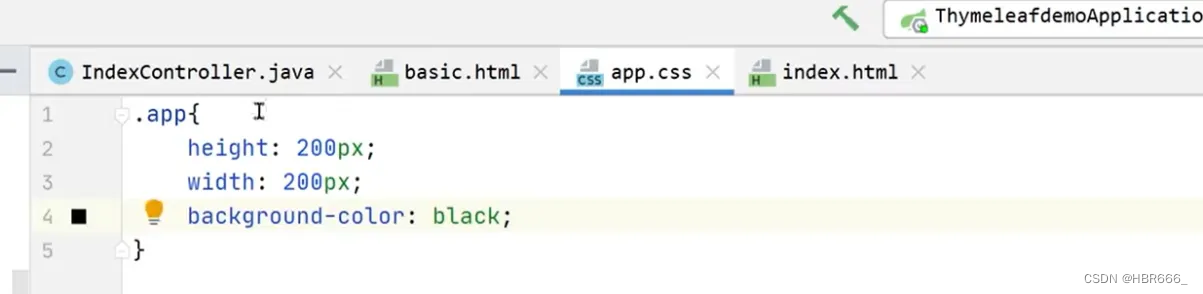
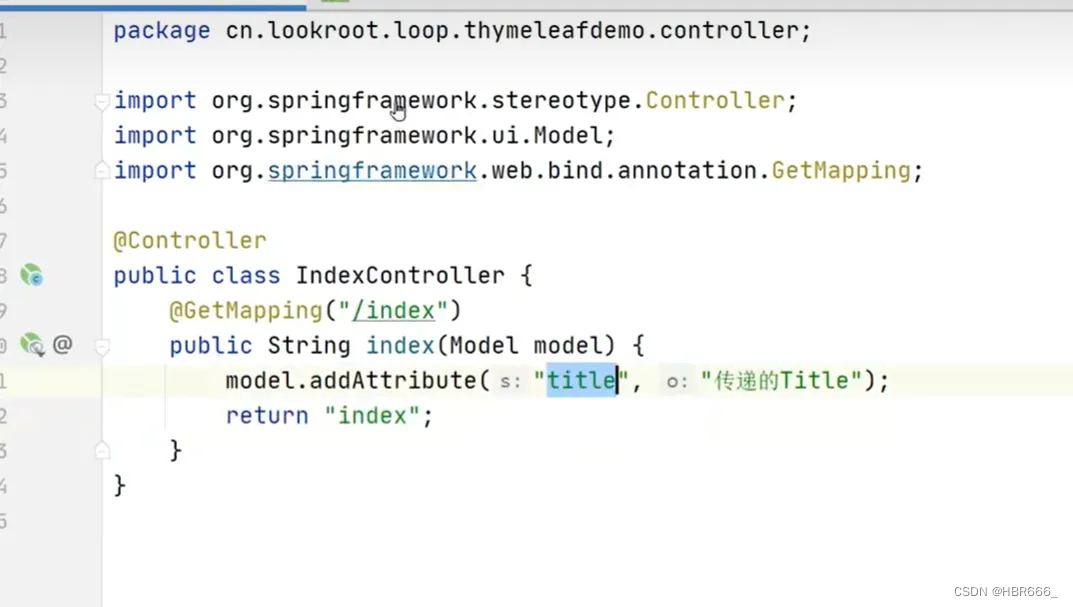
 注意@{/。。。}大括号里边要用 / 开头表示根目录,不然渲染不到
4.前后端
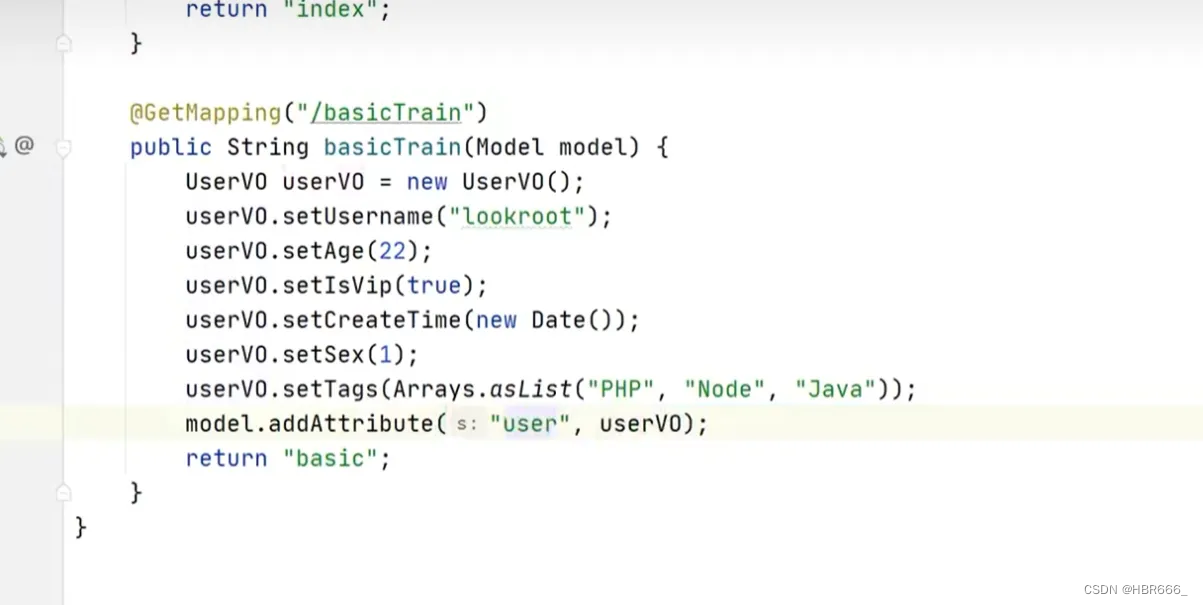 通过th:object 可直接引用变量
<!--原始  -->
<h2 th:text="${user.username}"></h2>
<p th:text="${user.age}"></p>
<!-- 代码优化 -->
<div th:object="${user}">
  <h2 th:text="*{username}"></h2>
   <p th:text="*{age}"></p>
</div>
 若语句为true,则会显示标签中的内容“会员”
5.遍历
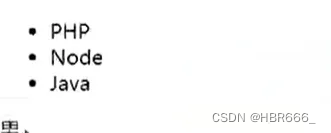
1.th:each

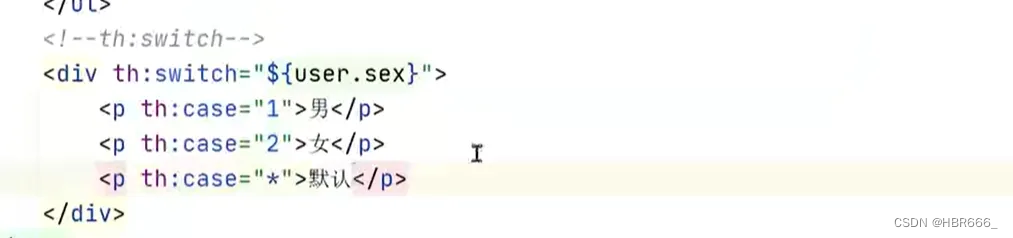
2.th:switch
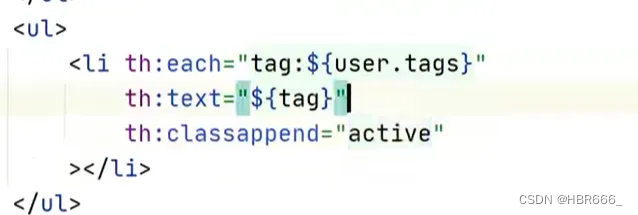
3.添加属性
追加一个active属性
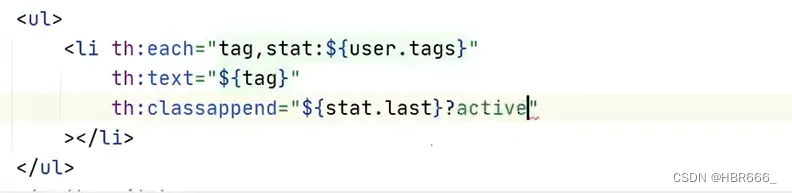
 给最后一个元素追加属性(stat是自定义名字)
组件替换
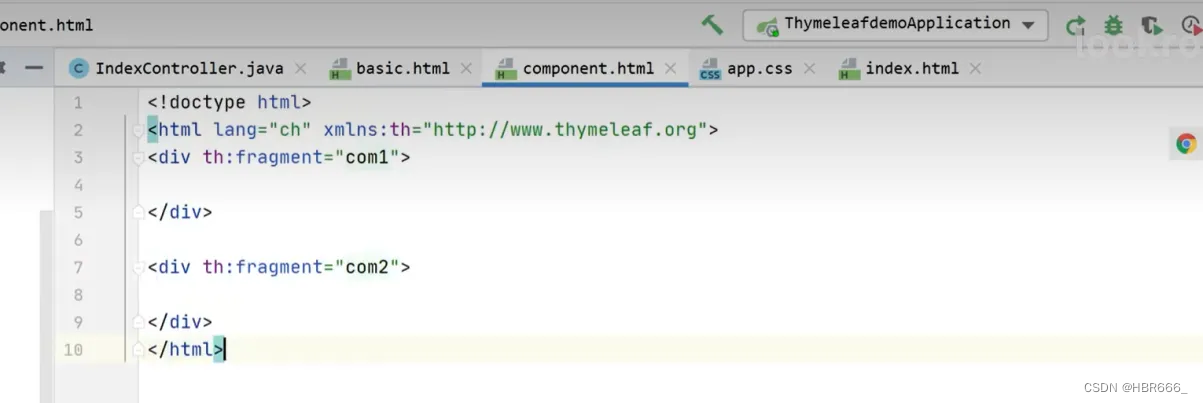
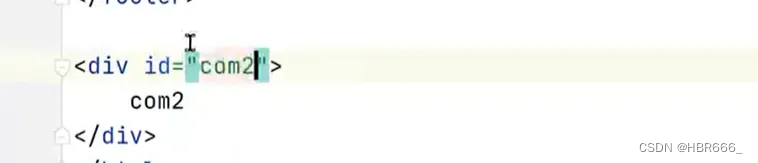
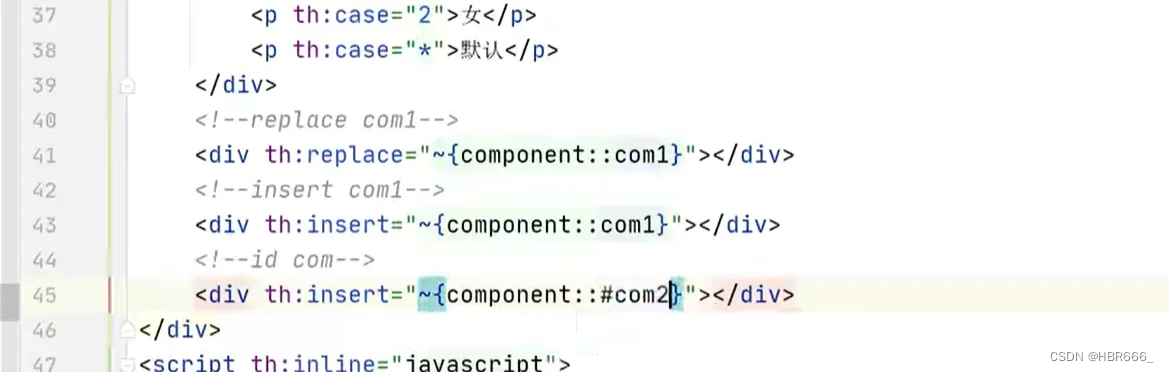
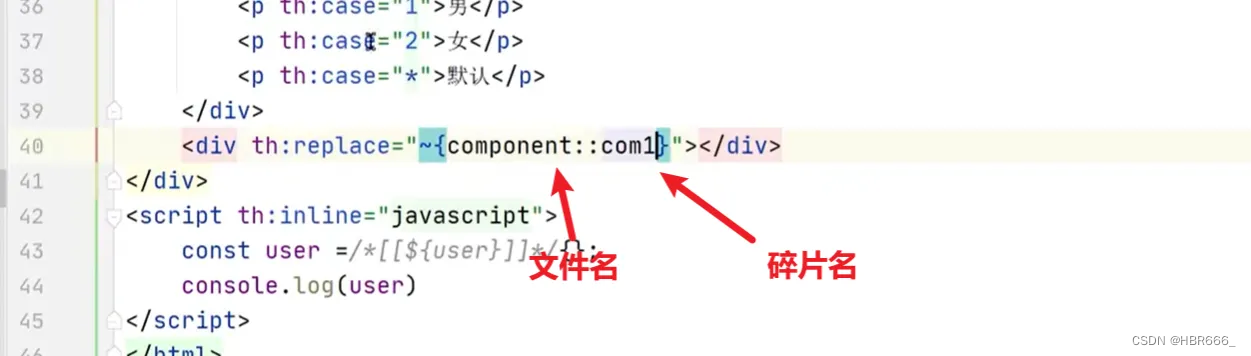 也可以直接使用id不用th:fragment
每周总结
项目写的好累,头懵的快炸了
查看 CSDN 原文